back
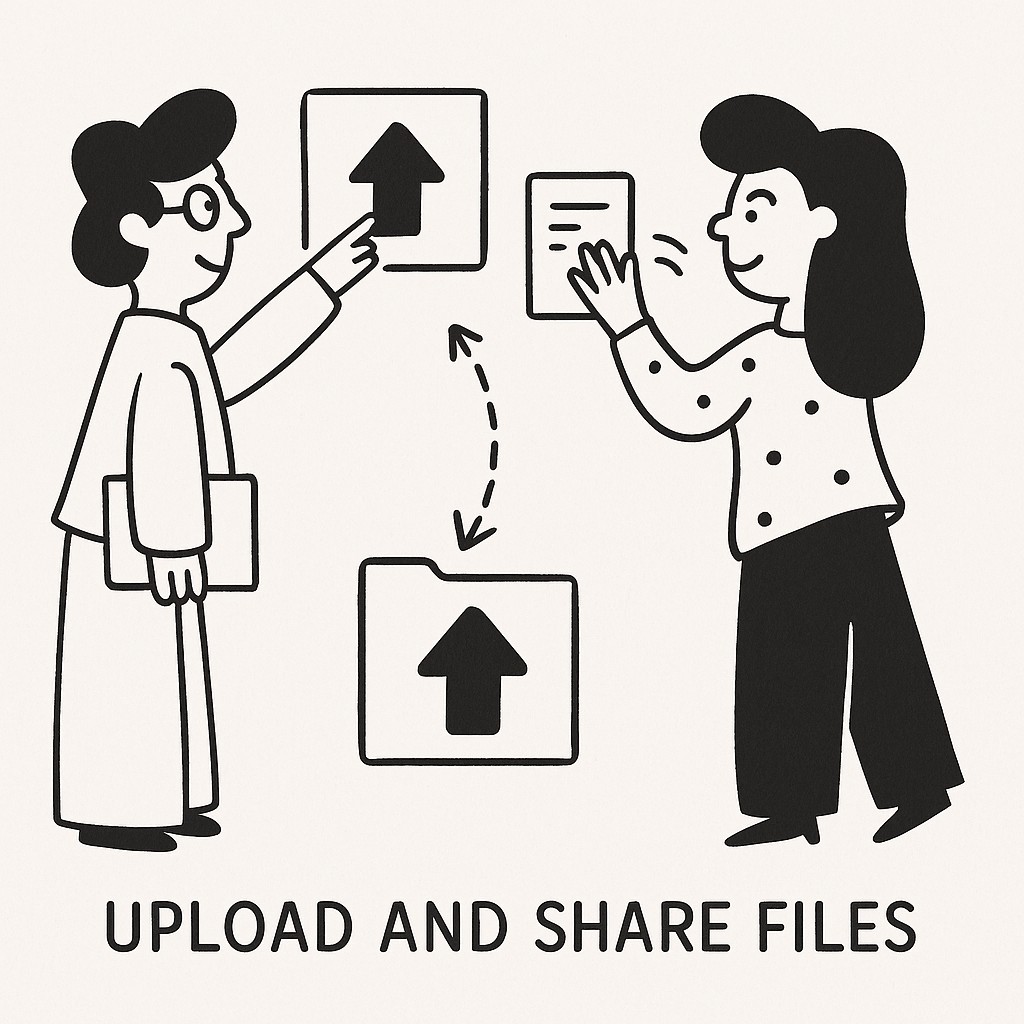
How to Upload and Share Files Using GoodSend
GoodSend provides a straightforward way to securely share large files without requiring a subscription. This guide will walk you through the process of uploading and sharing files with your recipients.
Getting Started with GoodSend
Before you begin sharing files, you'll need to have credits available in your account. Each file send costs 1 credit ($1.50), with a minimum purchase of 10 credits.
Purchasing Credits
- Visit GoodSend
- Click on the "Buy Credits" button
- Select the number of credits you wish to purchase (minimum 10 credits)
- Complete the payment through the secure Stripe payment portal
- Your credits will be immediately available for use
Uploading Files
GoodSend supports all file types and offers multiple ways to upload your files:
Method 1: Drag and Drop
- Navigate to the GoodSend file upload area
- Drag files from your computer directly into the upload zone
- Wait for the upload progress indicator to complete for each file
Method 2: File Selector
- Click the "Select Files" button in the upload area
- Browse your computer for the files you want to share
- Select the files and click "Open"
- Your files will begin uploading automatically
File Limitations
Keep these constraints in mind when uploading:
| Limitation | Details |
|---|---|
| Number of Files | Up to 20 files per send |
| Individual File Size | Up to 1GB per file |
| Total Size | Up to 10GB combined for all files |
| File Types | All file types supported |
| Expiration | Files automatically expire after 7 days |
Sharing Files
Once your files are uploaded, you can share them with your recipients:
- Enter the recipient's name in the designated field
- Enter the recipient's email address
- Add a message (optional but recommended)
- Click "Send Files"
- One credit ($1.50) will be deducted from your account
Tracking Your Shared Files
GoodSend provides comprehensive tracking of your shared files:
- Navigate to the "Sent Files" section of your account
- View the status of each send:
- Email Delivery: Confirms when the email notification was delivered
- Email Opens: Shows if and when your recipient opened the notification email
- Downloads: Tracks if and when files were downloaded by the recipient
What Recipients Experience
Your recipients will:
- Receive an email with your name and optional message
- Click the secure download link in the email
- Be taken to a secure GoodSend page
- Download the files you've shared
- Have access to the files for 7 days from the send date
Troubleshooting Common Issues
Files Won't Upload
- Check your internet connection
- Ensure files don't exceed the 1GB individual or 10GB total limit
- Try uploading files one at a time
- Use a different browser if problems persist
Recipient Can't Access Files
- Confirm you entered the correct email address
- Ask the recipient to check their spam/junk folder
- Verify the 7-day access period hasn't expired
- Resend the files if necessary
Credit Deduction Issues
- Ensure you have enough credits in your account
- Check if the transaction was completed successfully
- Contact support if credits were deducted but files weren't sent
Quick Tips
- Bundle Similar Files: Save credits by grouping related files into a single send
- Compress Large Files: Zip files to upload more content within the size limits
- Clear Instructions: Add specific instructions in the message field to help recipients
- Verify Before Sending: Double-check recipient emails to avoid wasting credits
- Track Downloads: Follow up with recipients who haven't downloaded important files
- Purchase Credits in Bulk: Buy more credits at once to have them available when needed
- Rename Files: Give files clear names before uploading to help recipients identify them